High-Gluten Flour
200 grams
Salt 2g
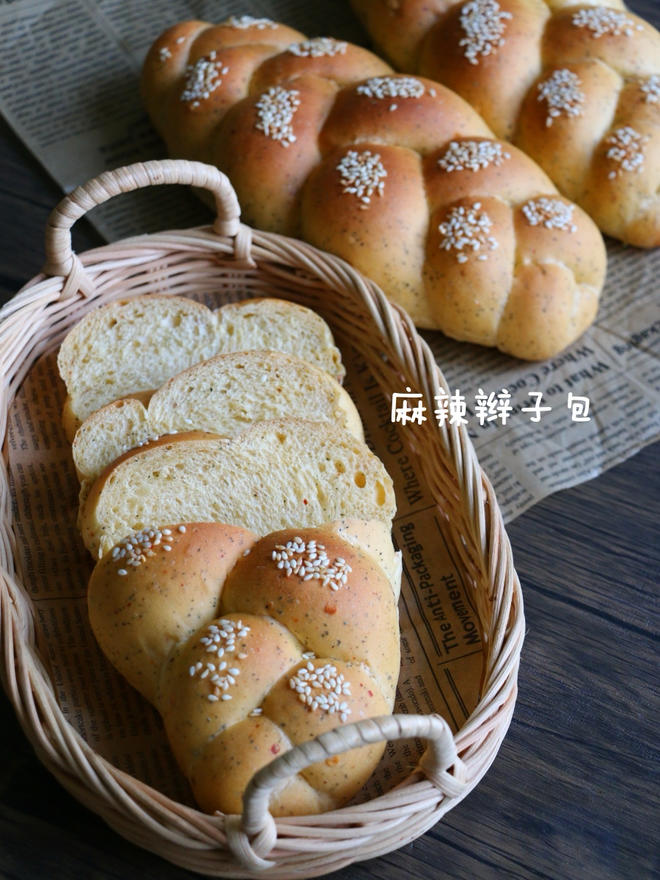
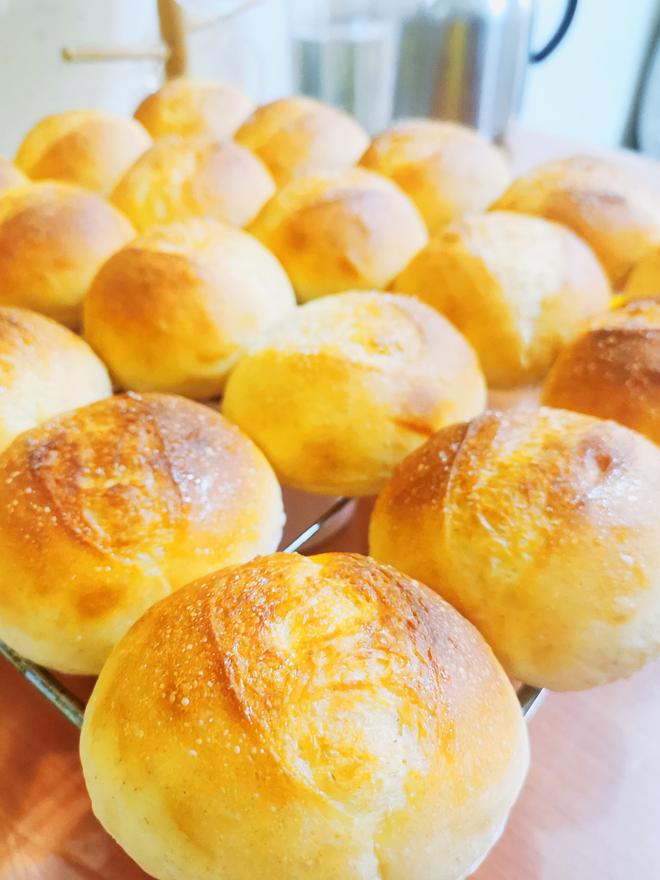
Butter 15g Mung Bean Paste 65g Mix all ingredients except butter into a dough. Add butter. Knead until a gluten window forms, then proof for 1 hour. Color the dough. Divide into portions.Brush oil on both sides Roll it up Proof for about 1 hour according to detailed production instructions, then bake Draw facial expressions with chocolate After cutting, place lettuce and sliced meat on top
Why the Gluten Window Matters
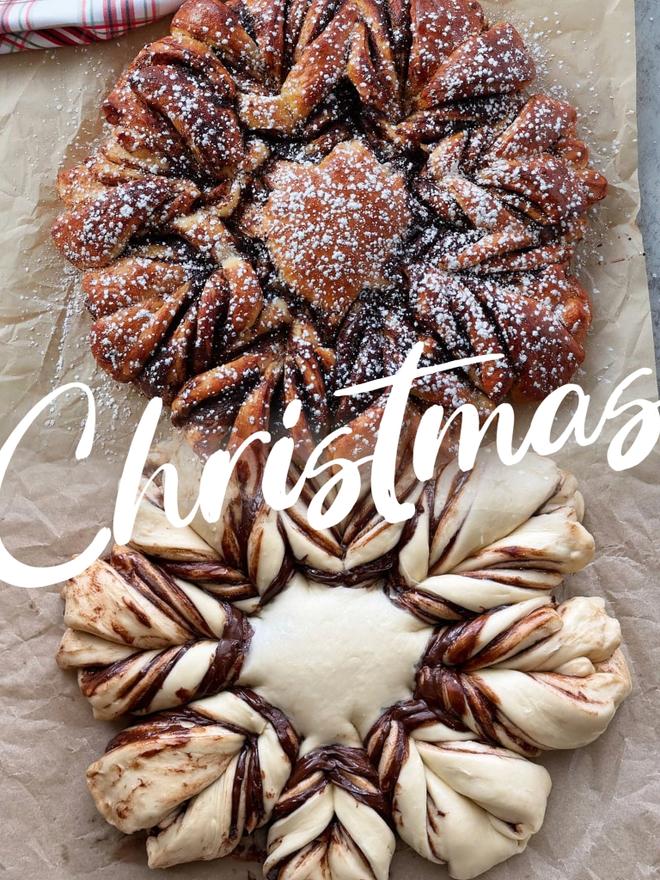
A 200-gram batch of high-gluten flour carries 30 grams of sugar and 15 grams of butter, and both of those tenderizers work against structure. That is why the kneading stage deserves patience. To check for the window, pinch off a walnut-sized piece of dough and stretch it slowly between your fingers. You should be able to thin it into a translucent sheet that light passes through without tearing. If it rips along a jagged edge instead, knead a few minutes longer and test again.
Dough that stops short of the window will snap back while you shape it, refuse to roll out evenly, and squeeze the filling out at the seams. The spiral that makes this bread fun to pull apart only forms when the gluten is smooth and well developed, so this one test protects every step that comes after it.
Coloring the Dough
Split off small portions after the first rise and knead the coloring in a pinch at a time. Cocoa powder gives a warm brown, matcha a soft green, and a little pumpkin powder lands somewhere near gold. Powdered colors hold true through baking, while liquid coloring tends to make portions sticky, so keep the faintest film of flour on the board if you go that route.
Work each portion until the color runs even with no marbling left, then let them rest under an upturned bowl for ten minutes before rolling. Dough that goes into shaping tense resists and tears, so do not rush this short rest.
Common Mistakes to Avoid
- Skipping the oil brush. The thin coat of oil on both sides is what separates the layers as they bake. Miss a spot and that section sets into a solid block instead of pulling apart.
- Drawing faces on warm bread. Melted chocolate smears across a hot surface. Let the buns cool to room temperature, pipe the expressions with a parchment cone or the tip of a knife, then give the chocolate ten minutes to set before handling.
- Over-proofing the second rise. Half an hour past properly puffy and the spiral spreads and the outline of the shape blurs. Around one hour in a warm kitchen is usually the ceiling.
- Filling while hot. Steam trapped inside the bun wilts lettuce within minutes. Cool the bread first and fill it just before it is eaten.
Serving and Storing
Assemble with lettuce and sliced meat only when you are ready to eat, and slice the bun at the last moment so the cut face stays soft. Uncut buns keep two days in an airtight container at room temperature and freeze well for up to three weeks. To refresh one, warm it unwrapped at 300°F (150°C) for four to five minutes, which softens the crumb without darkening the surface.